Magazine Monday – Candied Lemon Slices

I bought an enormous bag of lemons at Costco the other day for a dessert I have planned, but the rest have just been sitting in a bowl waiting for a use. Sometimes when I walk by them I hear them say “eat me”.

So I flipped through a bunch of magazines and found a recipe for candied lemon slices in the March 2005 issue of Martha Stewart Living. Candying a couple of them seemed like a great way to use them. While making this recipe I realized for about the millionth time that I could really use a mandoline. I haven’t bought one yet because they scare me (I’m known for making stupid kitchen moves) but it would really make life a lot easier to have one.  Maybe one day I’ll develop the focus required for using one.

Other than my issues with slicing thinly, this recipe is pretty easy. It takes about an hour and 15 minutes, but most of that time is unattended.

I’ll be submitting this post to Cream Puffs in Venice for Magazine Monday. Magazine Monday’s are a chance to get through all those magazine recipes we have bookmarked to make but never do. Make something, post it, and share it with the rest of us!

Candied Lemon Slices

  • 1 large lemon
  • 1 cup sugar
  1. Prepare an ice water bath.
  2. Using a mandoline or a very sharp knife, slice the lemon very thinly.
  3. Bring 2 cups of water to boil in a saucepan. Add the lemon slices and boil until slightly softened (about 1 minute). Remove lemon slices and put them in the ice water bath.
  4. In a medium sauce pan bring 1 cup of water and the sugar to boil. Place the lemon slices in the sugar-water in one layer and lower the heat to simmer.
  5. Simmer the lemon slices for 1 hour, then place the slices on a baking sheet lined with parchment.

Bake! With Nick Malgieri

When Nick Malgieri offers you a piece of cake, you don’t say no thanks I’m sugar free.

This weekend I went to a book signing and demo by pastry chef Nick Malgieri promoting his new book, Bake! The signing was held at Appetite for Books, a store that not only sells cookbooks, but teaches you how to cook from them. It’s an awesome concept and beautiful store.

The book is also beautiful, I’ve flipped through it several times now and I really can’t decide what to make first.

Those of us who were at the Saturday signing were treated to a demonstration of how to make his Quick Puff Pastry. He used the dough to make us Ox Tails, Palmiers and cheese sticks.

AND there was devils food cake, too!

Nick was very kind, giving us lots of tips and regailling us with stories. In short, he is awesome and his food is too.

The best part is my book is now signed!

Daring Bakers Go Nuts for Doughnuts!

The October 2010 Daring Bakers challenge was hosted by Lori of Butter Me Up. Lori chose to challenge DBers to make doughnuts. She used several sources for her recipes including Alton Brown, Nancy Silverton, Kate Neumann and Epicurious.

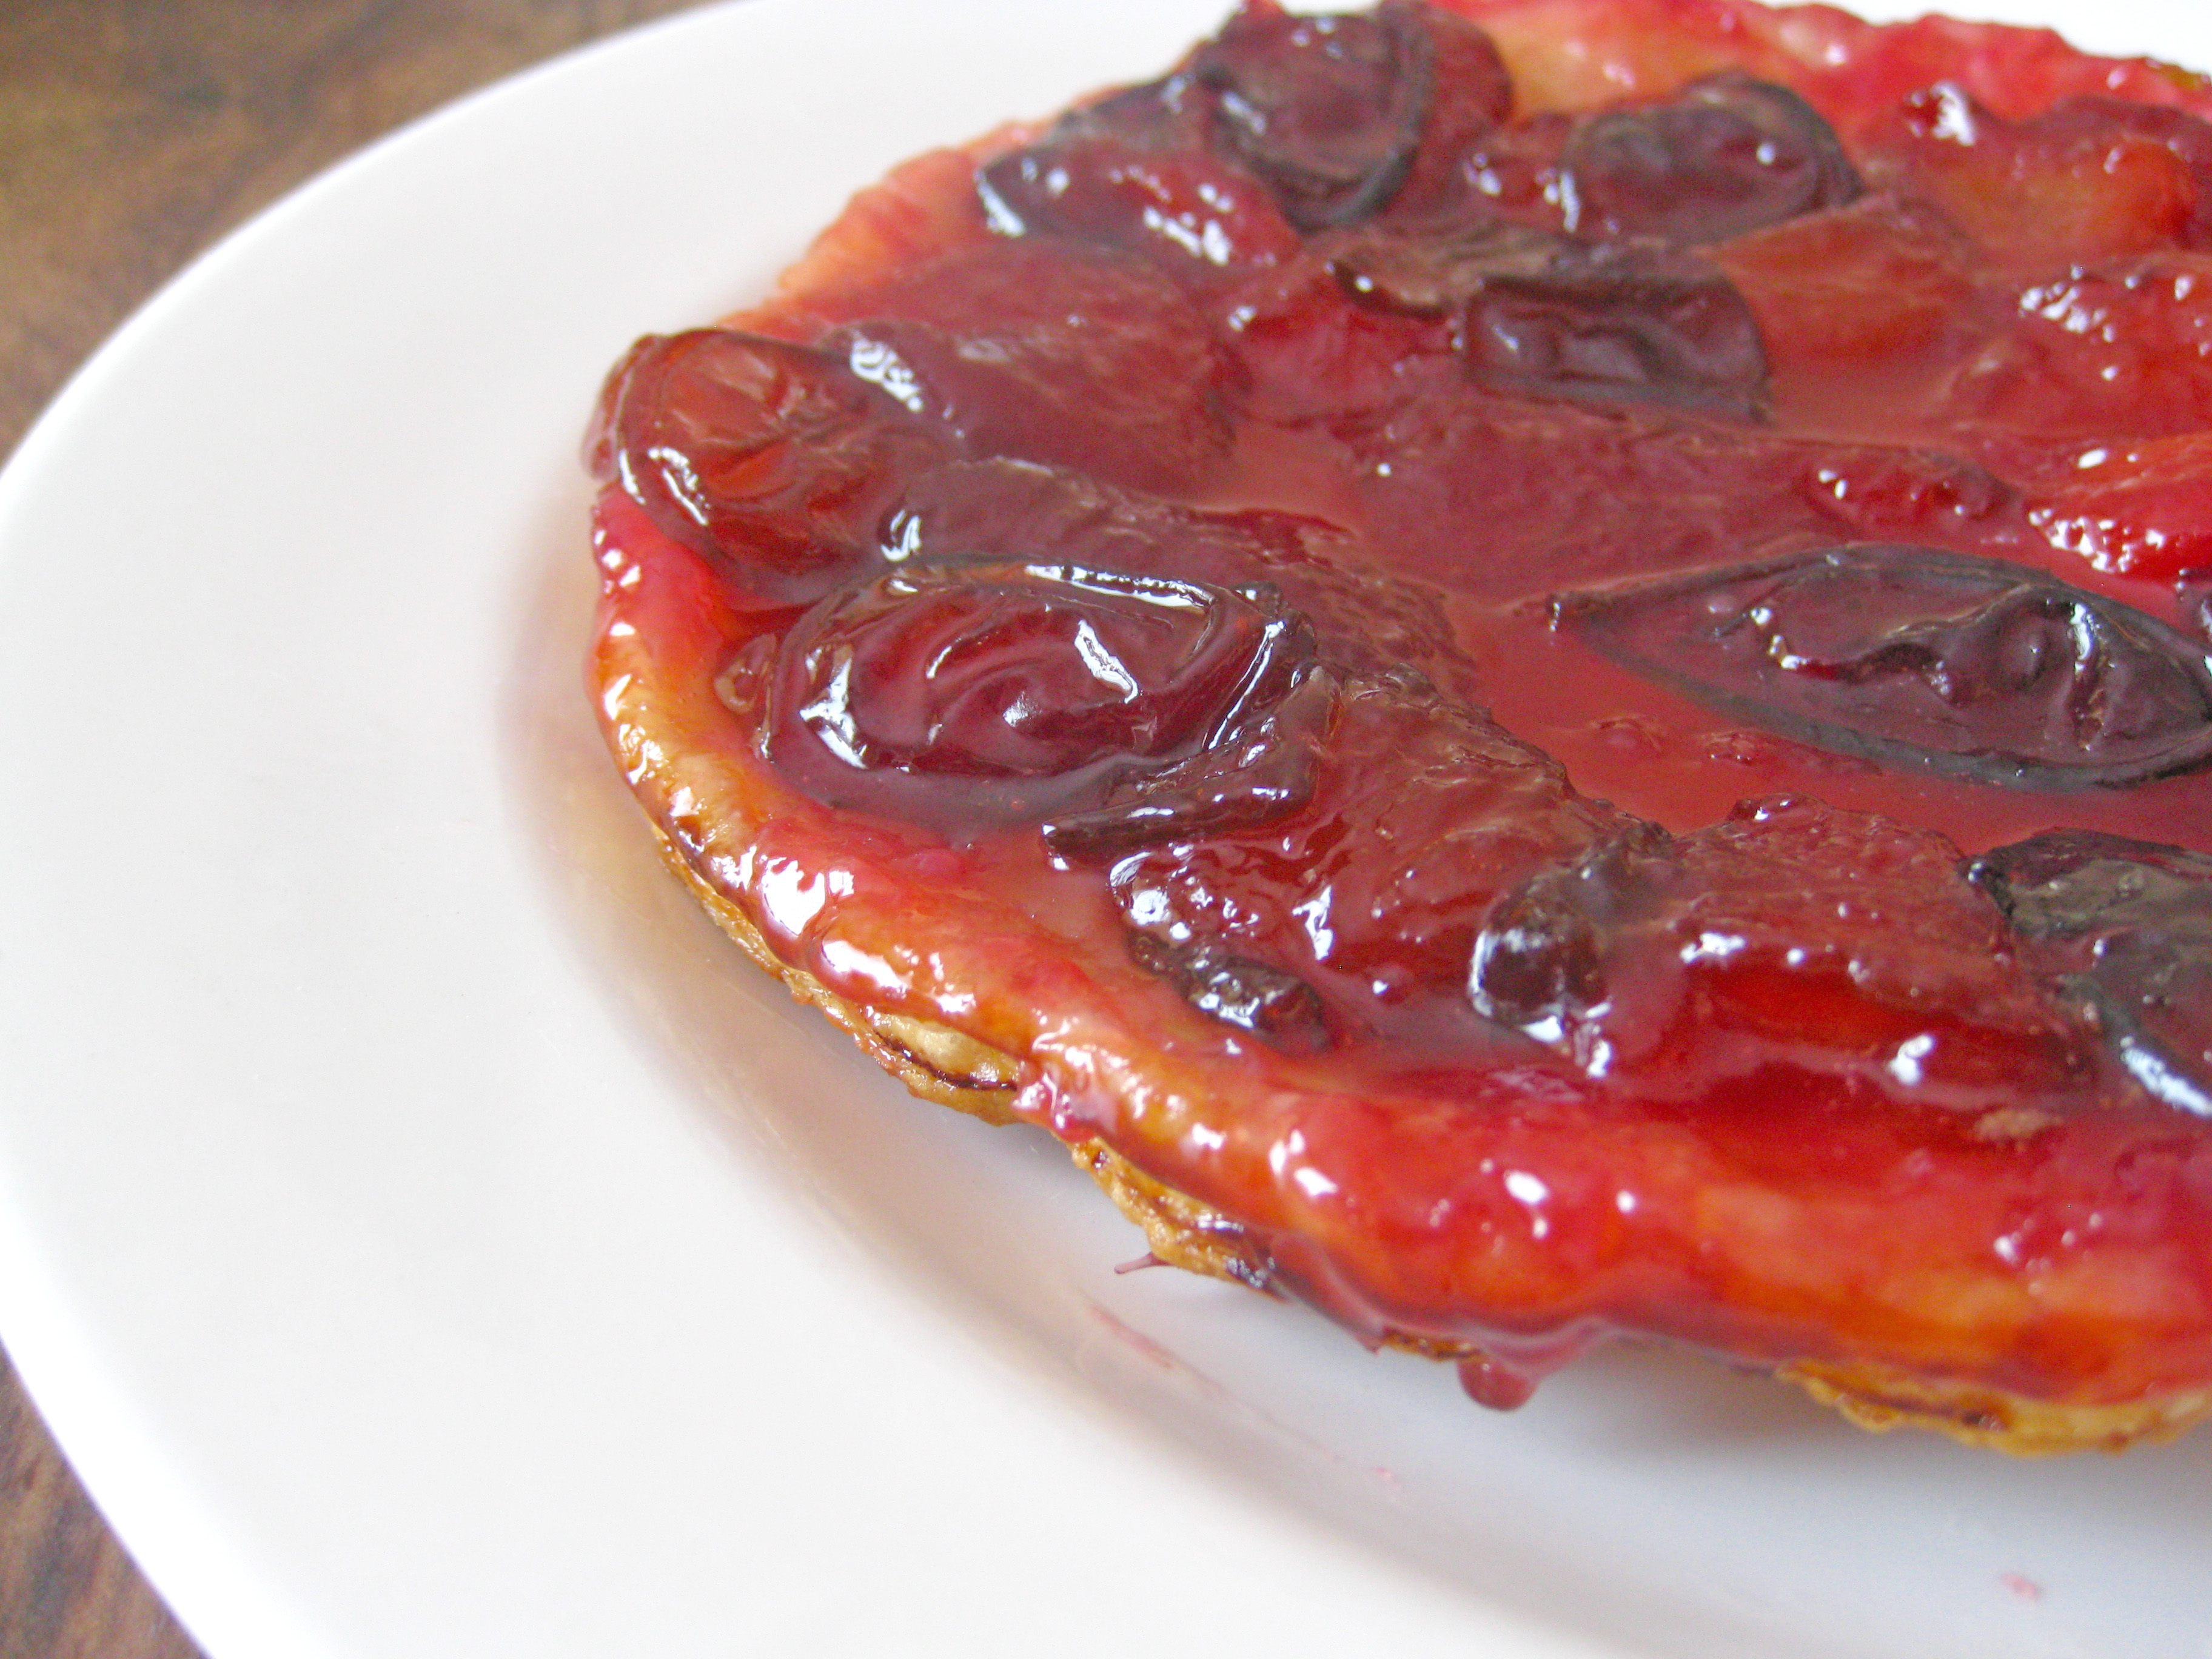
I was really excited by this challenge. I’ve been meaning to make Polish doughnuts, or Paczki (pronounced ponchkee), for a while and since the challenge allowed us to use any recipe we wanted I decided now is the time. If you’ve never had Paczki, they are yeast doughnuts filled with jam (often plum) and topped with a sugar glaze and sometimes candied orange peel. They are light and fluffy and oh so delicious.

You know what makes them so good? Booze. That’s right, booze.

I got to work on the doughnuts sure that everything would come together perfectly. I believed that my half Polish self must have an innate knowledge of how to make beautifully golden and fluffy doughnuts. I was mistaken.

All of the recipes I saw called for a range of flour rather than a specific amount. It is to be added until the dough “blisters”. I thought my dough was blistering, but in hindsight I think it was still too wet. The dough is then to rise until doubled in bulk, be punched down and risen again. After an hour my dough had barely moved. I took it out of the bowl, kneaded some more flour in and tried again. On the second rise it increased a little more, but nowhere near double. No matter, I cut out the doughnuts out anyway. I brought the oil up to 350 degrees and dropped 4 or five doughnuts in, let them brown on one side then flipped them over. Except the wouldn’t stay flipped! I frantically tried to re-flip each of the doughnuts but there were too many in the pot to manage. So my first few doughnuts ended up burnt on one side and undercooked on the other. I learned my lesson and put fewer doughnuts in the oil for the second round, but in the mean time my oil had increased in temperature and these burnt immediately, although the inside was still raw. I lowered the oil temp and got a couple of decent doughnuts made. The oil temperature dropped too much though, and the last few doughnuts I made looked beautifully golden on the outside but where once again raw inside.

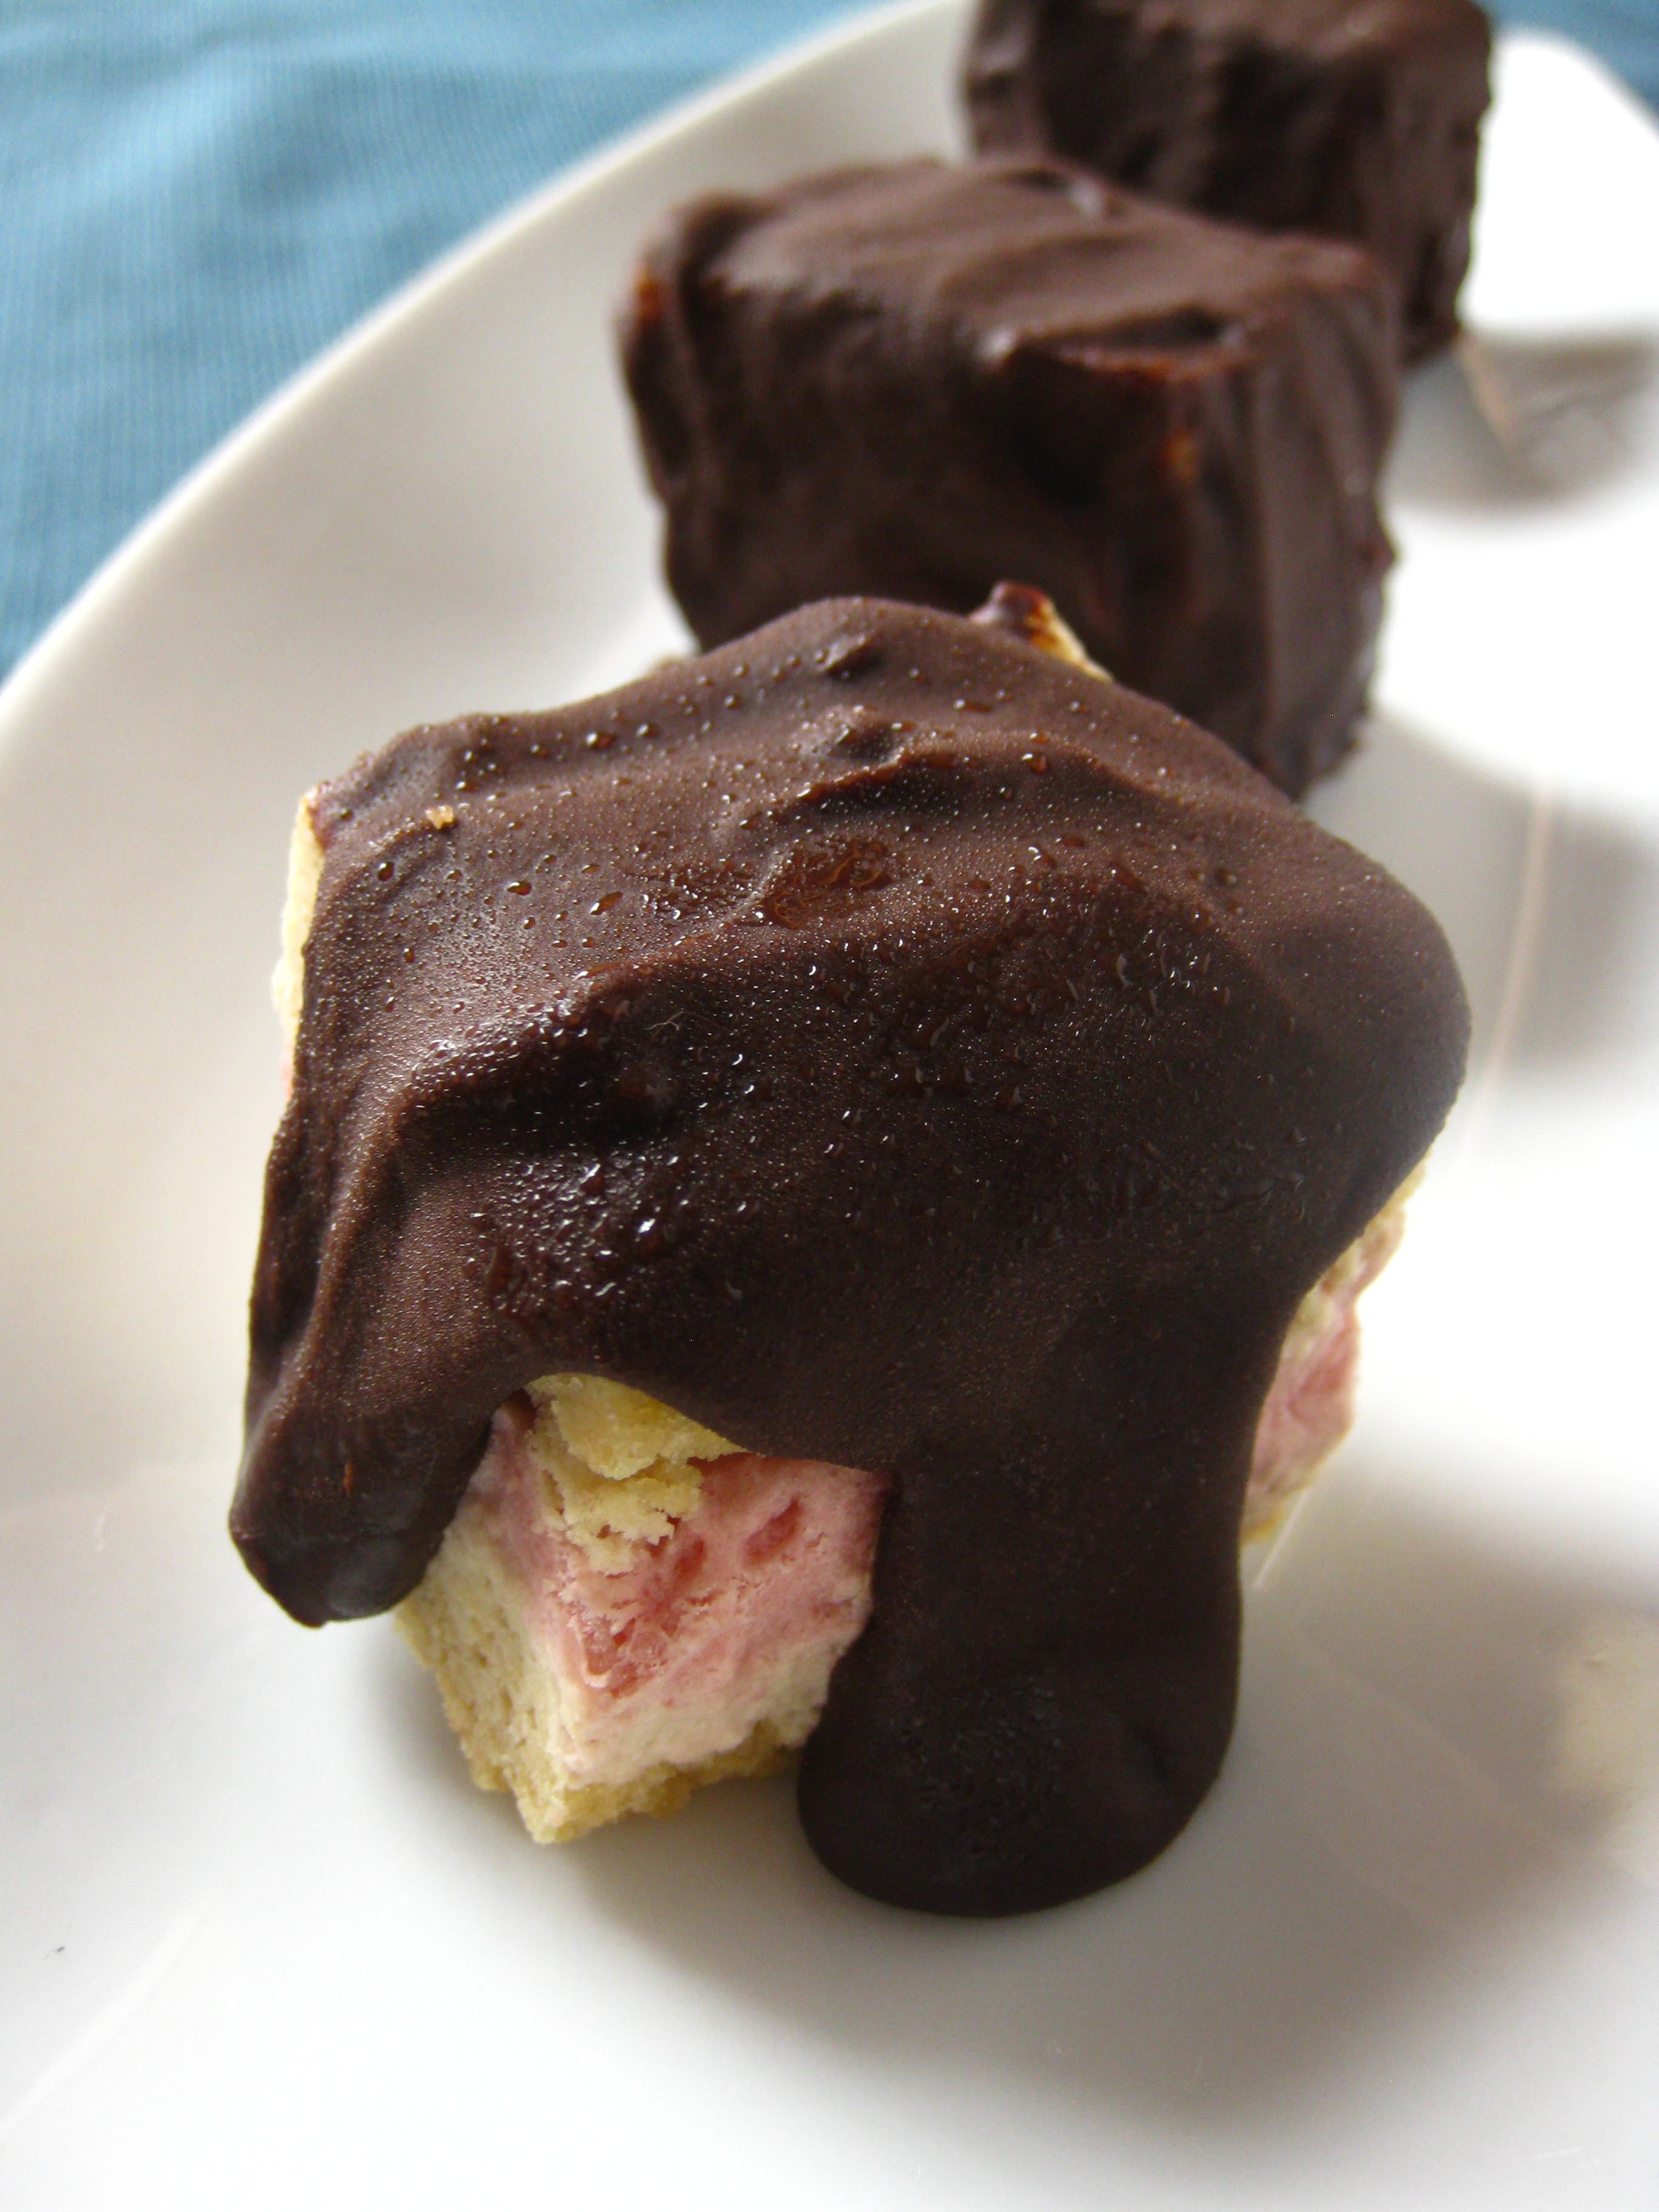
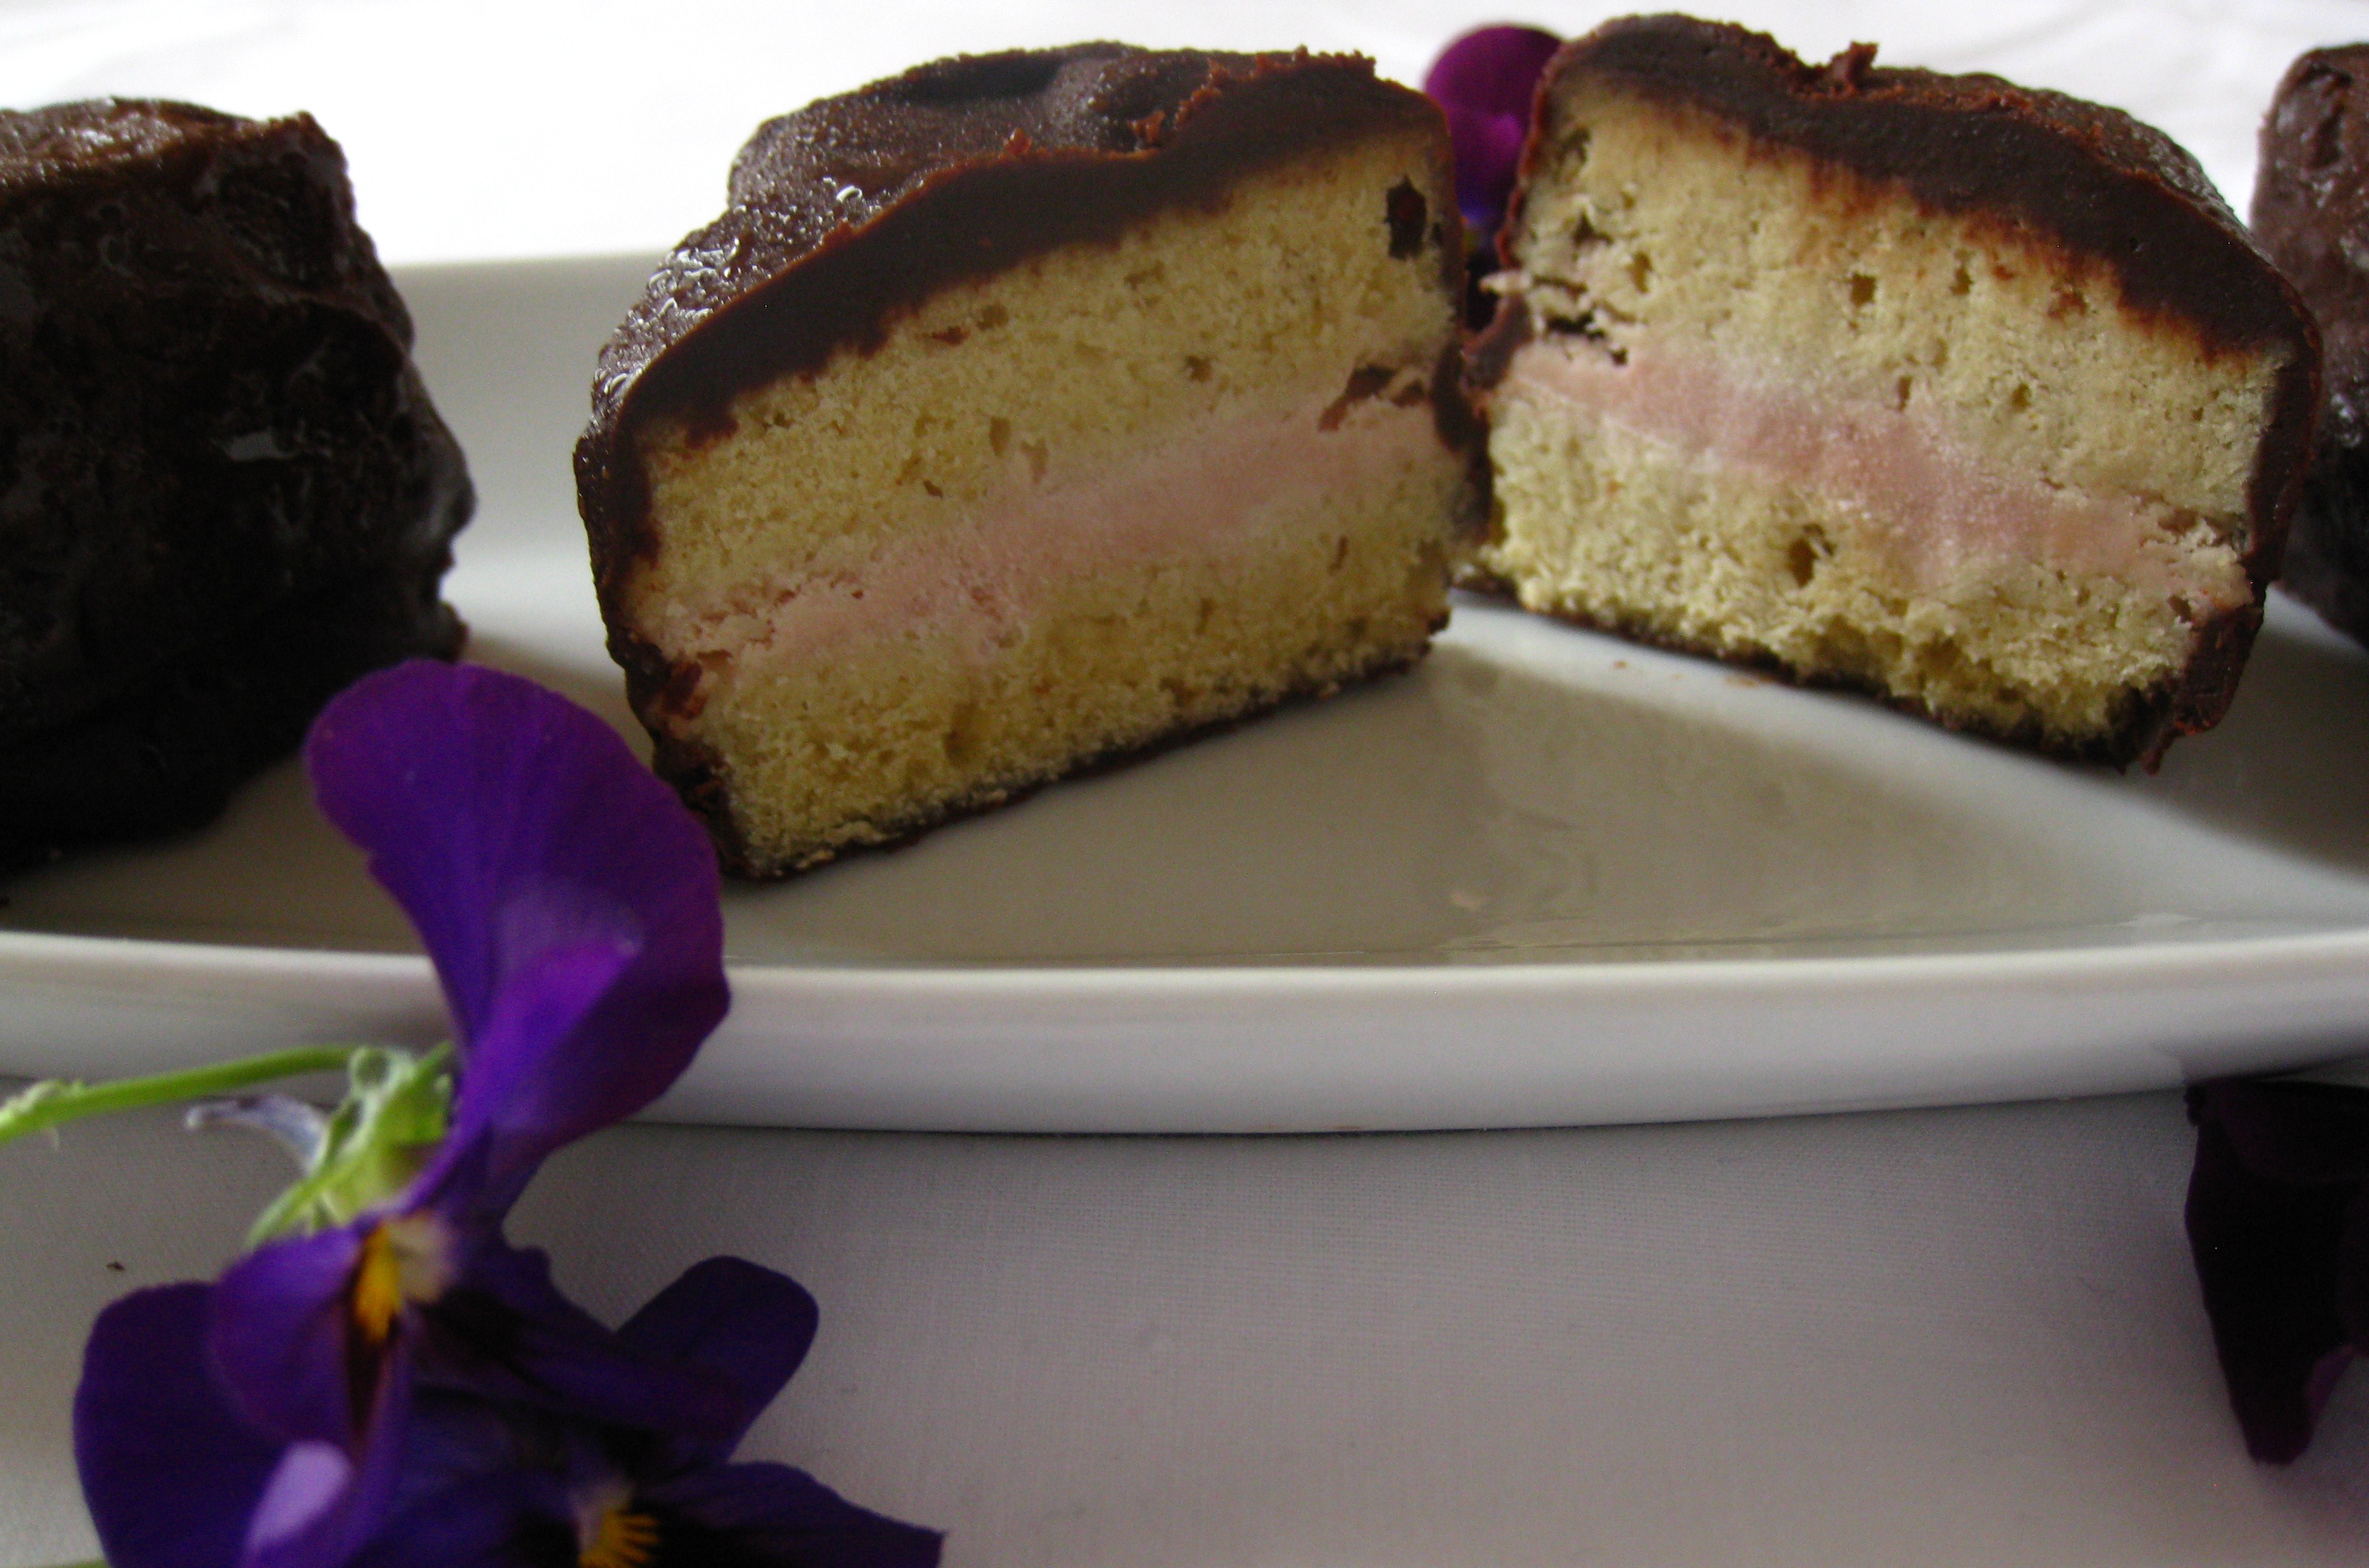
The few doughnuts I made that turned out were delicious. I filled some with plum jam and others with apple sauce. My filling technique needs some work because all of them were filled on one side only, as you can see below.

The conclusion I came to after all this: I need to make Paczki more often to get the technique down, otherwise I’ll have to stop claiming to be Polish.

Paczki

  • 6 eggs
  • 1 teaspoon salt
  • 2 1/2 tsp instant yeast
  • 1/4 cup warm water
  • 1/3 cup room temperature butter
  • 1/2 cup sugar
  • 4 1/2  to 5 cups flour
  • 1/4 cup rum
  • 1 cup scalded 35% cream
  • Plum jam or apple sauce
  • oil for deep frying
  • Powdered sugar
  1. Beat the eggs and salt until the eggs are light yellow, about 5 minutes. Set aside/
  2. In a small bowl, combine the yeast and warm water. While the yeast is softening beat the butter and sugar until light and fluffy in an stand mixer. Beat the yeast into the butter.
  3. Add one cup of flour to the butter yeast mixture, mix till combined.
  4. Add the rum and half of the cream.
  5. Beat in another cup of the flour.
  6. Add the remaining cream.
  7. Beat in a third cup of flour and the egg mixture. Beat for two minutes.
  8. Add remaining flour slowly until the dough looks like it’s blistering.
  9. Transfer dough to a lightly oiled bowl, cover in plastic wrap and let rise until doubled in bulk. Punch the dough down and let rise again.
  10. On a lightly floured surface roll out the dough till it’s about 1 cm thick.  Cut out 2 inch circles, re-roll out the dough and cut circles again until all the dough is used.
  11. Heat oil to 350 in a deep fryer or a wide skillet. Fry 2-3 doughnuts at a time, when one side of the doughnut is golden flip it over and fry the other side. Drain on paper towels.
  12. Using a pastry bag fill the doughnuts with jam or applesauce.
  13. Sprinkle with powdered sugar.

Enjoy!

Good Old Fashioned Apple Pie

My laptop died about a week ago. For the first couple of days I felt completely cut off from the world, despite having a phone that gives me access to Facebook, Twitter and basically the entire internet. I don’t keep a lot of information on my computer, I’ve heard enough identity theft horror stories to know better. I do however keep pictures on it. Lots of them. And I never backed them up. My trips to San Francisco, Las Vegas, New York, and a few random moments in life are all currently in limbo. I know, I know, I should have backed them up, I promise I’ll never make that mistake again. My brother says he might be able to salvage them. I’m keeping my fingers crossed.

The loss of these momentos had me very stressed, but I realized there was more to my computer withdrawal than that. I missed blogging. I haven’t been doing this very long, but it seems it’s become an important part of my life. So I decided to pick up a pen and some loose leaf paper and start writing up posts to be retyped once everything was sorted out. I’m probably dating myself by saying this, but there is something very soothing about actually putting my thoughts on paper. I think better with a pen in my hand; I can chew on the cap when I’m stuck, cross things out, draw arrows linking thoughts. I think I might actually keep writing my posts this way. I know it’s a waste of time and paper, but I find it relaxing.

You know what else I find relaxing? Apple pie.

I love the feeling of the dough coming together in my hands, the sense of accomplishment when I roll it into something that resembles a circle, the meditative time spent peeling the apples, and putting my face up to the oven window to watch it brown and bubble. Don’t even get me started on the smell of cinnamon and apples. And the best part, the first bite of crispy flaky crust and the sweet yet tart filling.

Apple Pie

Crust

  • 3 cups all purpose flour
  • 3/4 cups butter, cold
  • 1/4 cup shortening or lard
  • 1 tsp salt
  • 6-10 tbsp milk, cold (more as needed)

Filling

  • 5 Cortland apples, peeled, cored and thinly sliced
  • juice of 1 lemon
  • 1/2 cup brown sugar
  • 1/2 tsp cinnamon
  • 2 tbsp flour
  • 1/2 cup cranberries
  1. Make the dough. Put the flour and salt in a large bowl. Using a box grater, grate the cold butter and shortening into the flour. Using a pastry cutter or your fingers, cut the butter into the flour until it has a crumbly texture. Stir in 5 tbsp of cold milk, keep adding milk until the dough comes together.
  2. Form dough into 2 disks, cover in plastic wrap and refrigerate for at least 2 hours or overnight.
  3. Once chilled, roll out one disk until about 1/4 inch thick. Fit the dough into a 9 inch pie plate. Chill.
  4. Make the filling. Toss the apples with the lemon juice, sugar, cinnamon, flour and cranberries. Pour into pie plate.
  5. Roll out second disk of dough. Place over the pie plate, cut off the excess overhang. Press the edges of the top and bottom crust together making sure the are sealed. Cut air vents into the top crust. Chill for 30 minutes.
  6. Heat the oven to 375. Bake for 45 minutes to 1 hour.

Enjoy!

Saffron Scented Pear Upside Down Cake

There is something very comforting about an upside down cake. It’s old school baking, which I think is the best kind of baking. Think chocolate chip cookies and  bundt cakes.

I saw this recipe while flipping through the October 2006 issue of Martha Stewart Living. The picture made me want to eat it immediately. When I read the recipe it confirmed what my eyes already told me. The addition of saffron and ginger give the cake a modern twist, but the caramelized pears give it a classic upside down flavour.

Saffron Scented Pear Upside-Down Cake

  • Vegetable oil cooking spray
  • Pinch of saffron threads
  • 1 cup sugar
  • 1/4 cup (1/2 stick) unsalted butter, softened
  • 2  Pears, (6 to 7 ounces each), peeled and sliced
  • 1 1/3 cups all-purpose flour
  • 1 1/2 teaspoons baking powder
  • 1/2 teaspoon ground ginger
  • 1/2 teaspoon salt
  • 3/4 cup nonfat buttermilk
  • 1/4 cup vegetable oil
  • 2 large eggs
  • 1 teaspoon pure vanilla extract
    1. Preheat oven to 350 degrees. Coat an 8-inch square or round cake pan with cooking spray. Line bottom with parchment paper, and set aside.
    2. In a food processor, pulse the saffron and 1/4 cup sugar. In a bowl beat the sugar mixture with the butter until light and fluffy. Spread the mixture in the pan.
    3. Place the pear slices over the butter in a decorative pattern.
    4. Whisk the dry ingredients together. In another bowl, whisk the wet ingredients together. Add the wet ingredients to the dry in a slow stream while stirring.  Spread the batter over the pears.
    5. Bake for 40 to 45 minutes, until a tester comes out clean. Let cool for 5 minutes then flip onto a serving platter and allow to cool completely.